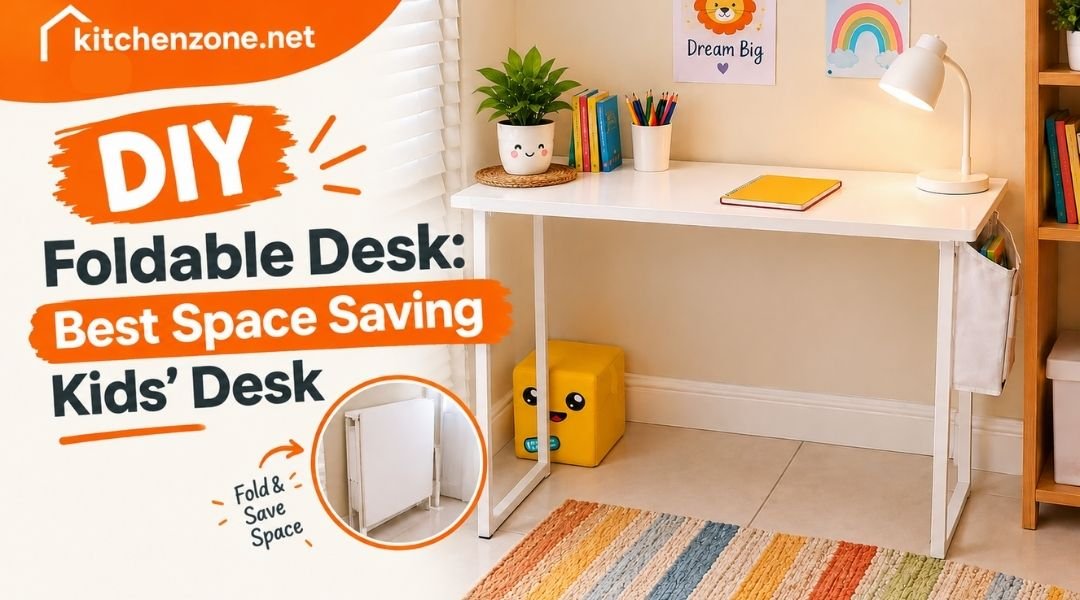
Hello everyone, do you need a practical workspace for your child? But don’t have much space at home? Then a compact foldable desk could be a smart solution. This will not occupy permanent floor space. A foldable desk can be easily folded and stored away when not in use. This project would be great for a special bedroom, small home, playroom, or temporary learning space. The design is very simple, comfortable, and can be customized according to your child’s needs. In this guide, I will show you step by step how to make a simple kids’ desk with folding legs. This will include materials, measurements, assembly processes, and finishing tips.
Why Build a DIY Folding Desk?
Did you know that a compact desk can provide a dedicated space for children to study, draw, read, or do homework? Without taking over the entire room.
Benefits of a Foldable Design
And a foldable design has some important advantages. For example: The desk legs can be folded up when not needed. The desk can be easily tucked under the bed or next to the wall. Plywood and common hardware are relatively inexpensive. You can also change the size, finish, and design of the desk to your liking. Another advantage is that we can make small-sized desks specifically for children. It will give you the best of both worlds by providing a comfortable workspace without permanently taking up floor space.
Want a True Floating Desk?
If you specifically want a true floating desk, this basic idea can be adapted into a wall-mounted design. However, the project described here uses folding legs instead of a permanent wall-mounted frame.
Materials and Tools You’ll Need
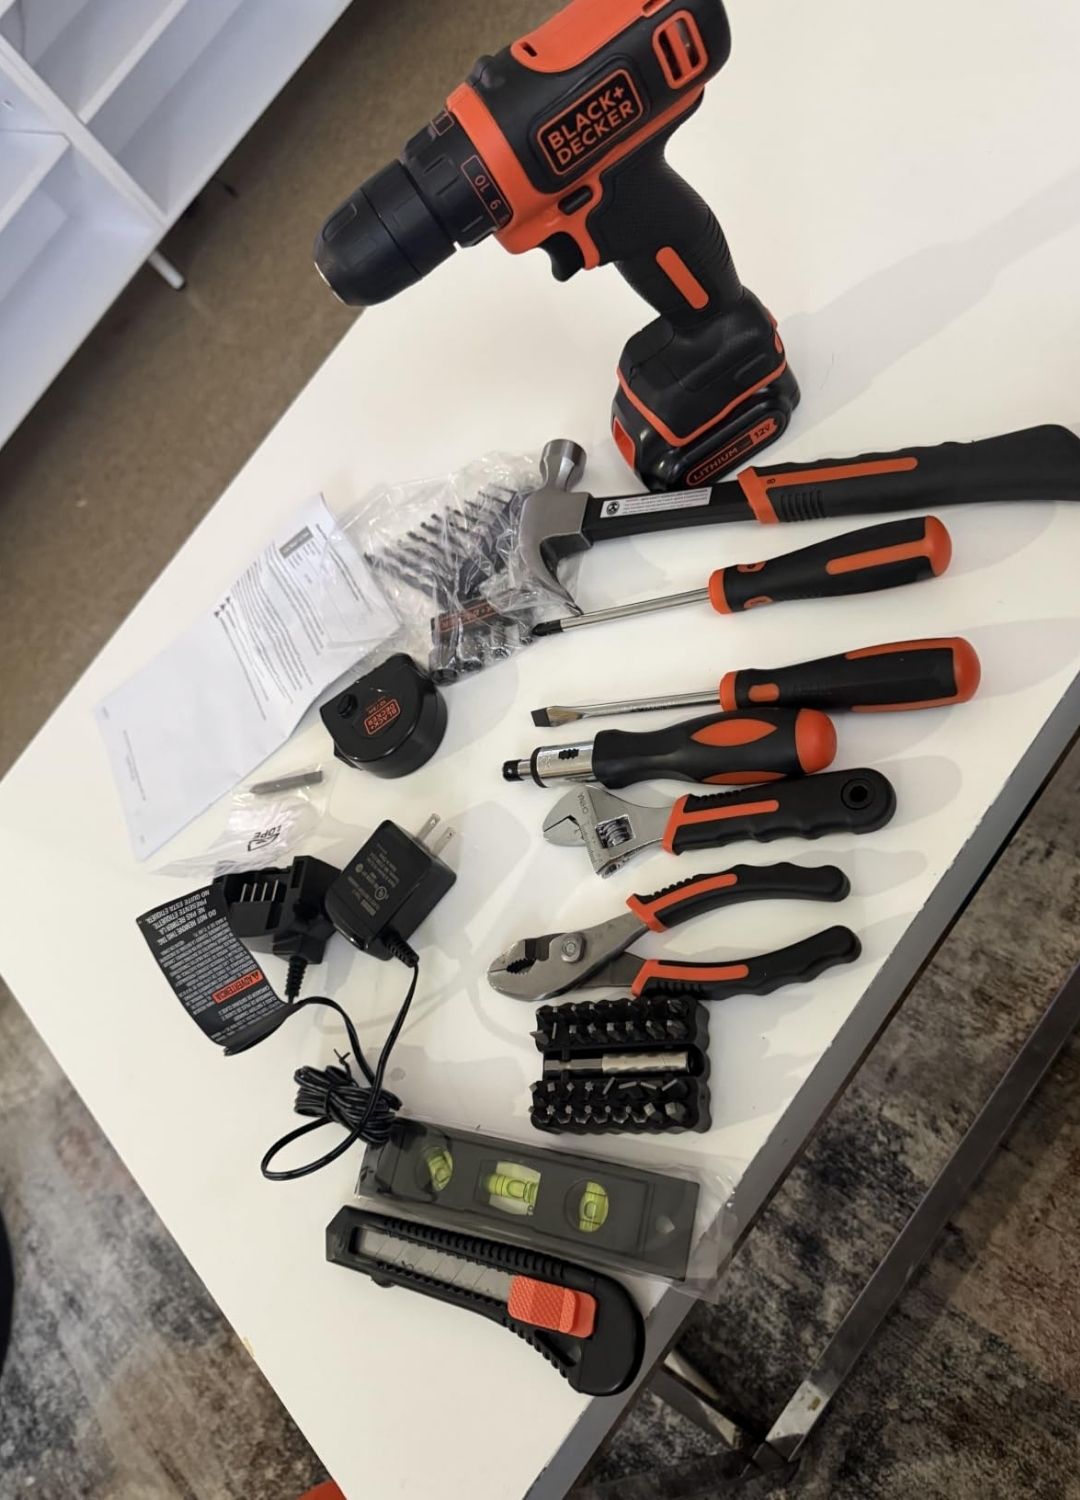
In the original project, almost all parts of the desk were made from wood. Baltic birch plywood is used because its exposed edges look clean and attractive. You will need:
- Baltic birch plywood or another suitable plywood
- Folding brackets
- Screws
- Brad nails
- Wood glue
- Wood finish or oil
- Optional polyurethane for additional protection
You can use 1×2 lumber instead of the wood legs if you prefer a simpler construction.
Tools
Useful tools for this project include:
- Circular saw or table saw
- Drill and drill bits
- Screwdriver or drill driver
- Speed square
- Combination square
- Measuring tape
- Clamps
- Sandpaper or an orbital sander
- Self-centering drill bit
- Brad nailer
Choose the Right Desk Size
Then choose the right desk size. For this project, the desktop will be approximately 16 inches by 30 inches, and the overall height of the desk will be around 17 inches. This size is comfortable for a child to do homework, draw, write, and organize basic school supplies. You can make the size a little smaller or larger depending on the age of your child and how much space you have in the room. Before you start cutting wood, carefully measure the area where you will place the desk. And if you think about where to put the desk after folding, then hopefully there won’t be any trouble later.
How to Build a DIY Foldable Desk Step-by-Step
Let’s learn how to make a beautiful and space-saving folding desk for your child in a very easy step-by-step manner:
Step Number 1: Cut the Plywood Pieces
Let’s learn how to make a beautiful and space-saving folding desk for your child in a very easy step-by-step manner:
First, cut the plywood and separate the parts that you will need for the project. The desk, legs, and cross members can all be cut from plywood. If you plan to keep the edge of the wood visible, you can use Baltic birch wood. It looks clean and the layers are visible and the finishing is pretty good. Don’t rush this step, or you may run into problems later.
A Useful Tip
There is no requirement to use Baltic birch plywood for this project; if you have regular plywood you can easily do it with that. If you intend to paint your desk, you don’t need to worry too much about the edges of the plywood. It would look pretty good if the edges were painted or covered in some other way.
Step Number 2: Prepare the Cross Members
The cross members connect and support the folding legs of the desk together. In the original build, small miter cuts were made to the cross members to make them look better. However, making this cut is completely optional; there is no problem if you don’t do it.
Keep the Cross Members Simple
If you are making a desk for the first time, you can skip these decorative cuts. Just keep the cross members in a simple rectangular shape. This will make project creation more comfortable and the desk strength will not be affected.
Dry-Fit the Pieces
Before permanently attaching anything, dry-fit the pieces. This will help you understand if everything is in the right place. After this, the chances of making mistakes will also decrease.
Step Number 3: Attach the Folding Brackets
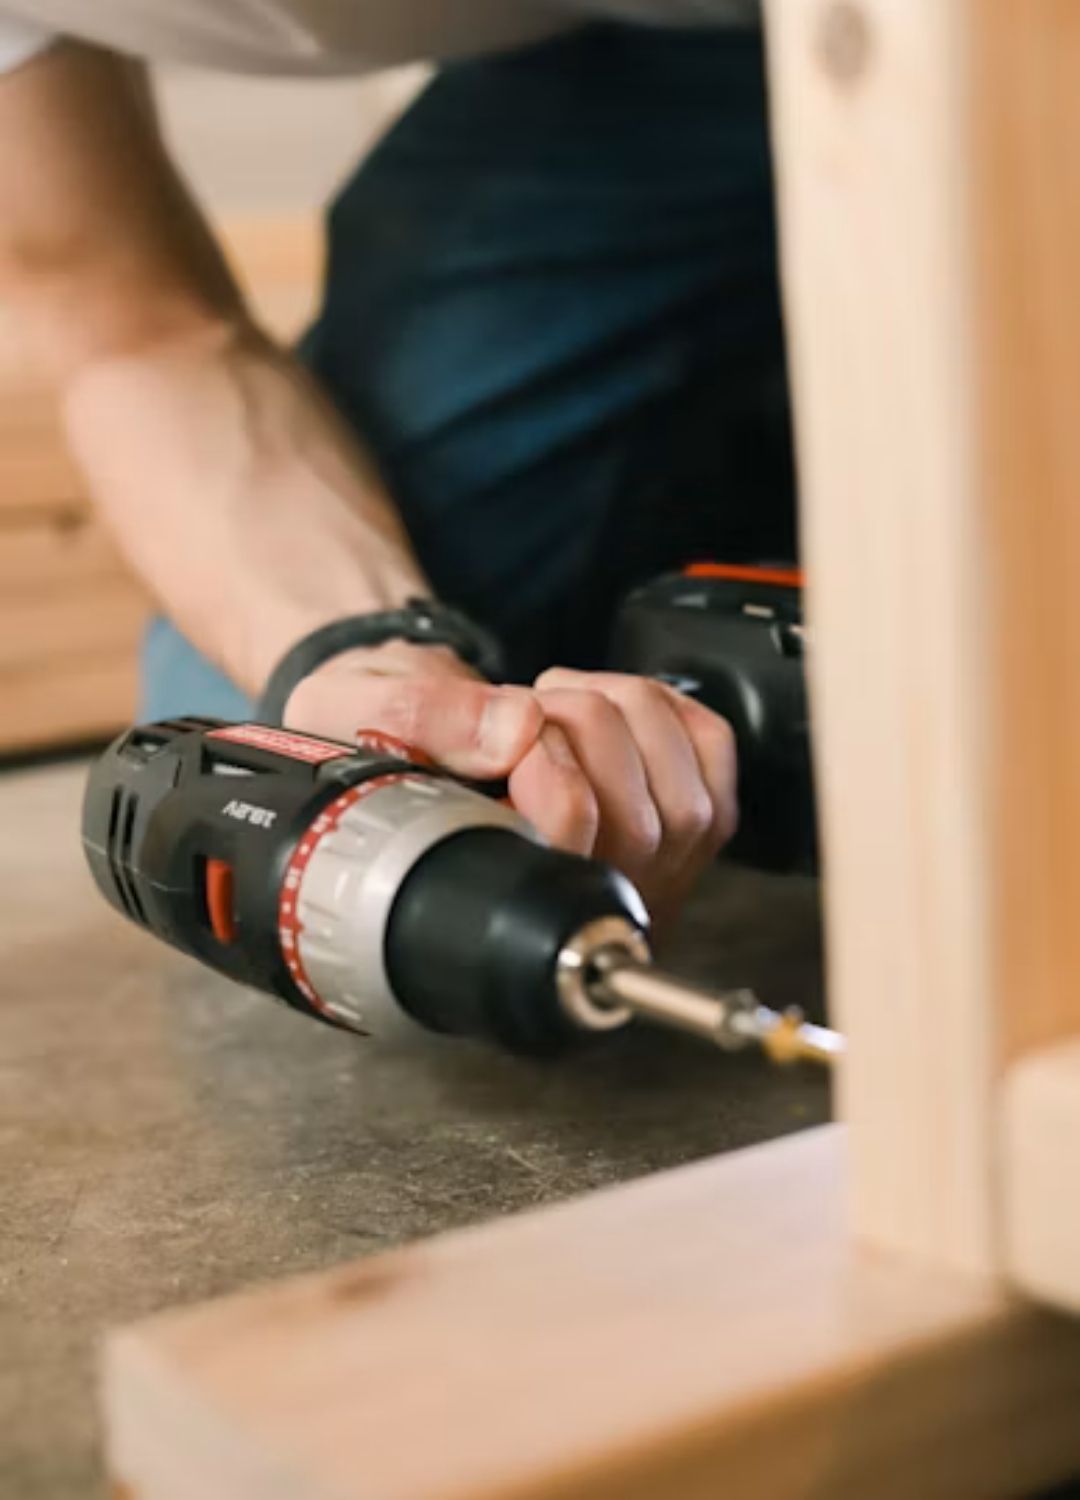
Image Credit: Unsplash
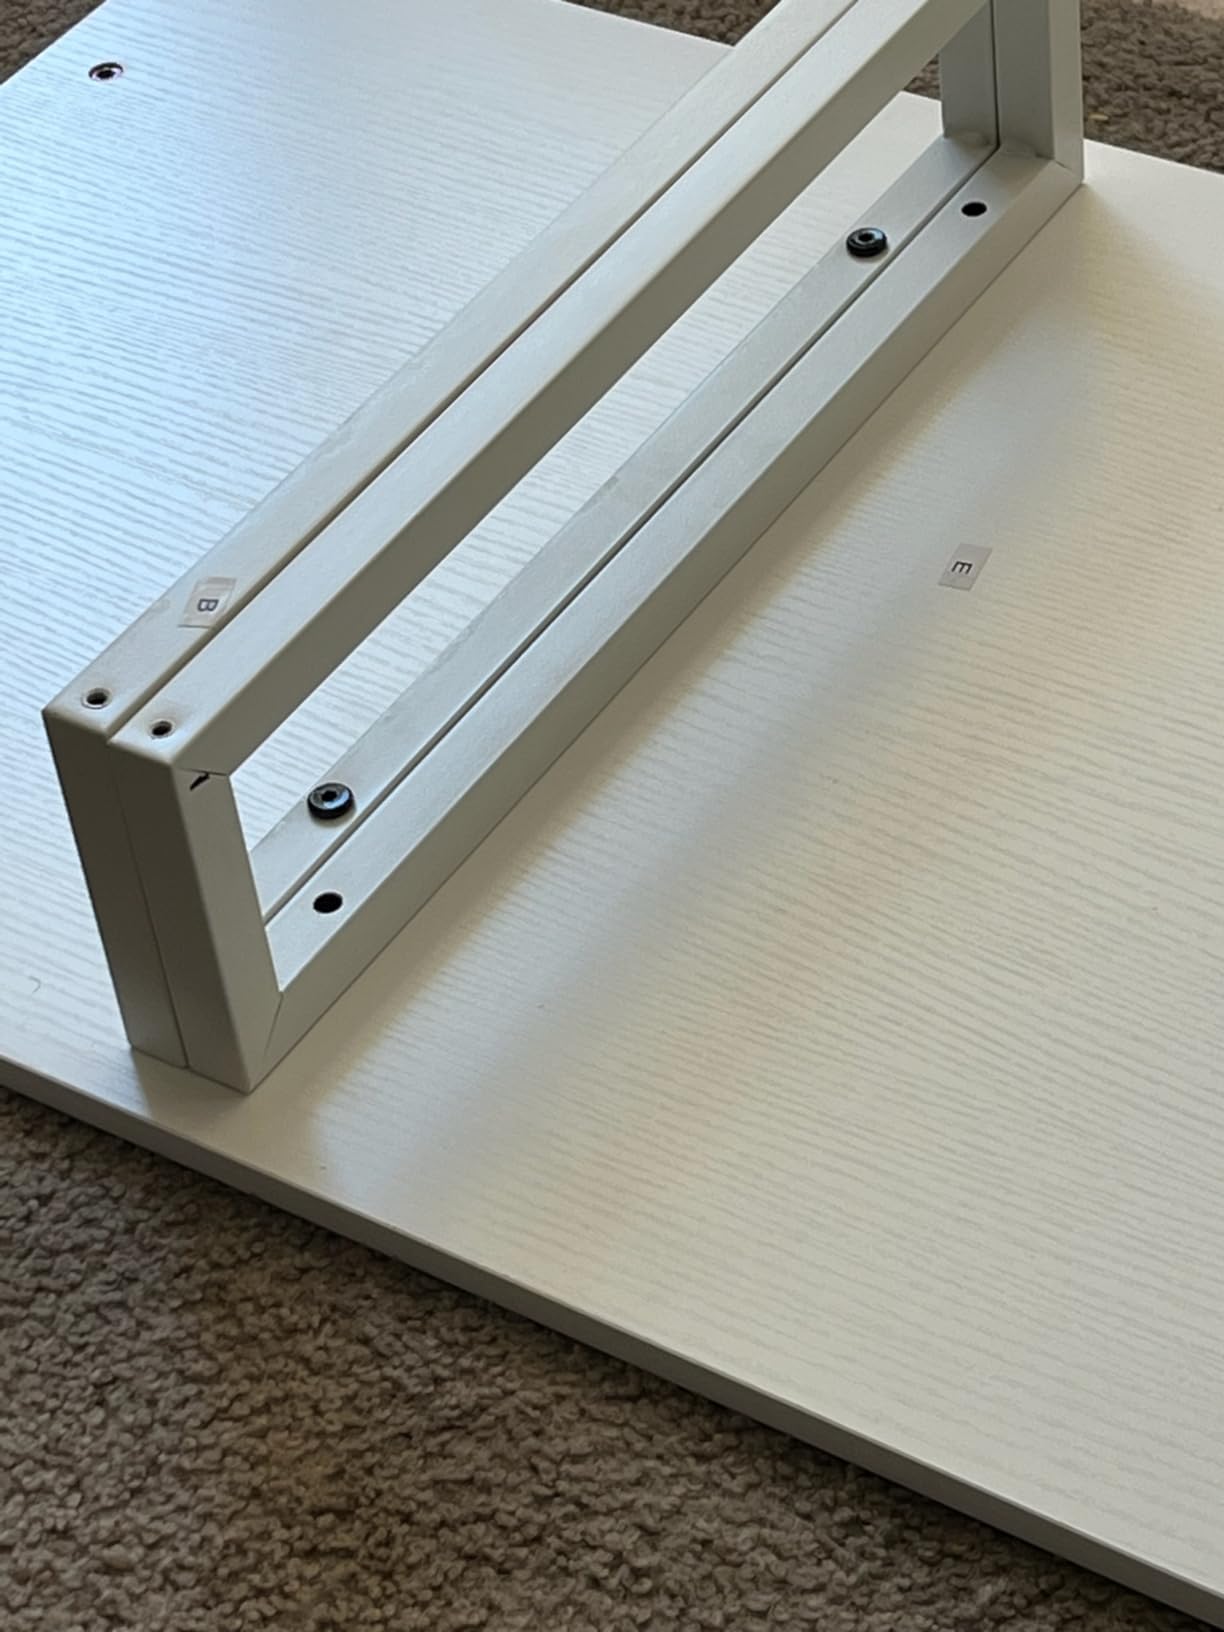
Then attach the folding brackets to the legs of the desk. Carefully mark the screw locations and drill pilot holes beforehand. When working with hardware, using a self-centering drill bit makes it much easier to get the holes in the right place. Creating pilot holes is simple—just make sure they match the size of the screws you are using. Once the holes are ready, place the folding brackets in position and secure them well with screws.
Don’t Install Every Screw by Hand
This step can be done much faster if you use a small drill driver. Attaching the brackets will require several screws, so using a drill or driver will take less time and not put as much pressure on your hands.
Step Number 4: Attach the Cross Members
Once the brackets are installed, then start attaching the cross members to the legs. You can use a speed square to make sure the pieces are aligned properly. Apply wood glue to the joints before attaching the parts.
Check the Folding Clearance
The original design leaves sufficient gap so there is enough clearance when folding the legs. This part of the build is very important, because the legs should be able to move freely when folded and not hit the cross member or legs on the opposite side. That must be confirmed.
Step Number 5: Check the Folding Mechanism
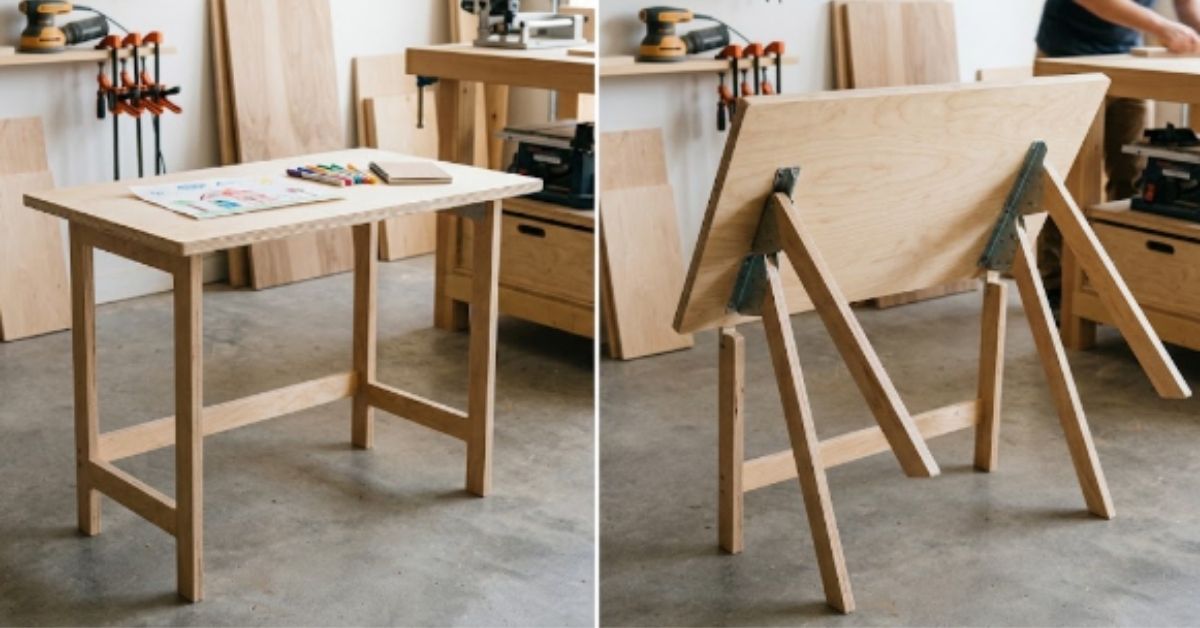
Before finalizing and permanently finishing the desk, test the folding mechanism thoroughly. Open and close the legs a few times, and check these things:
- Is there enough clearance?
- Are the legs moving smoothly?
- Is there any screw loose?
- Are the brackets aligned properly?
- Are the cross members colliding with the legs on the opposite side?
The legs should fold without excessive force. If anything is rubbing or blocking the movement, correct it before moving on.
Why Clearance Matters
Folding desks need to have enough space between the moving parts. If the cross members are placed too close to the opposite side, then the desk may not fold properly. Now, take a few more minutes to test the folding movement thoroughly, so you can avoid the hassle of opening and adjusting the desk later.
Step Number 6: Add Extra Strength
After positioning the cross members in place, secure them well with screws. You can also use brad nails to provide extra support until the adhesive dries. This will help to temporarily hold the cross members.
Check the Stability
Once the screws are installed, check the desk again to make sure everything is stable. Shake the desk to make sure no parts are loose or wobbly. Remember, since this is being made for children, the stability and safety of the desk should be given top priority.
Step Number 7: Sand Everything Smooth

Image Credit: Unsplash
This is one step you should not rush. Ideally, all the individual pieces should be completely sanded before final assembly. Doing so makes it much easier to reach edges and corners. Start with an appropriate grit of sandpaper and work toward a finer grit until the surfaces and edges feel smooth. Pay particular attention to the exposed plywood edges.
Important Safety Tip
Children will be using the desk, so inspect every surface carefully. A rough edge or poorly sanded corner can cause painful splinters. Run your hand lightly over the finished surfaces to identify rough areas that still need sanding.
Step Number 8: Apply a Protective Finish
Once everything has been sanded, apply your preferred wood finish. The original project used an oil-based finish. However, if you are building the desk specifically for children, a durable protective coating can be a useful upgrade.
Consider Polyurethane
Polyurethane can provide additional protection against everyday messes such as:
- Crayons
- Pens
- Markers
- Food and drinks
- General wear and tear
If the desk will receive heavy use, applying a couple of protective coats can help the surface stay in better condition. Always follow the manufacturer’s instructions regarding application, drying time, ventilation, and curing.
Customization and Storage
Make the Desk More Kid-Friendly
One advantage of making your own desk is that you can customize it. You could:
- Paint it in your child’s favorite color.
- Add rounded corners.
- Use a clear finish to showcase the plywood.
- Add a small storage compartment.
- Install a pencil holder.
- Add a removable desk mat.
- Adjust the height as your child grows.
If you are creating a DIY floating desk for a different room, you can also modify the concept and use a wall-mounted support system instead of folding legs.
How to Store the Foldable Desk
The biggest benefit of this design is how easily it can be stored. When the desk is not being used, simply fold the legs and move it out of the way.
Storage Ideas
For a small bedroom or home, you could store it:
- Under a bed
- Behind a door
- Against a wall
- Inside a closet
- Beside a piece of furniture
This makes the desk especially useful when children need a dedicated workspace during the week but want more open floor space on weekends.
Common Mistakes to Avoid
Skipping the Clearance Check
Do not permanently attach the cross members without testing how the legs fold. The folding mechanism needs enough clearance to move freely.
Forgetting to Sand Before Assembly
Sanding individual pieces before assembly makes the process easier. It also allows you to reach areas that may become difficult to access later.
Using the Wrong Screw Size
Always choose screws appropriate for the plywood thickness and hardware. Screws that are too long can damage the opposite surface.
Rushing the Finish
Allow the finish to dry and cure according to the manufacturer’s instructions before allowing children to use the desk.
Ignoring Stability
A children’s desk should feel solid when in use. Check the brackets, screws, legs, and cross members regularly.
Is a DIY Foldable Desk Worth Building?
For anyone looking for a compact workspace, this is a practical woodworking project that does not require an overly complicated design. The combination of a small desktop and folding legs makes it particularly useful for homes where space is limited. It can function as a children’s study desk during the week and be stored away when the room needs to be used for other activities. The project can also be customized easily. You can change the dimensions, finish, materials, and even the folding mechanism to suit your space.
Today, we looked at how to build a simple DIY desk with folding legs. This design has folding legs, so it can save space and be easily stored when not in use. With plywood, folding brackets, basic tools, and some time, you can make a simple desk for your child to study, draw, read, or do homework. Most importantly, pay attention to measuring, folding clearance, sanding, and finishing. These steps will help make the desk safe, comfortable, and easy to use.
Thanks to everyone reading this article