A kitchen can look flawless in photos and still be frustrating to use. Maybe there is nowhere to chop an onion. Maybe the pan you grab every day lives at the very back of a low cabinet. Maybe one ceiling light leaves your hands in shadow whenever you stand at the counter.
I have spent four years helping people plan kitchen layouts, and the same pattern keeps showing up. The homeowners who are still happy years later did not buy the priciest materials. They simply thought through how they cook, how they clean, and how they walk around the room.
This guide covers 12 kitchen design decisions, each with a real-life example, common cabinet sizes, and basic building rules for the United States, Canada, and the United Kingdom. A free printable checklist waits at the end.
Quick answer: Most regrets come from skipping the fundamentals: a layout that works, open prep space, deep drawers, task lighting, outlets in the right spots, and appliances that fit your cooking style. Sort these out first, then pick your finishes.
1. Base Your Kitchen Design Decisions on Your Daily Routine
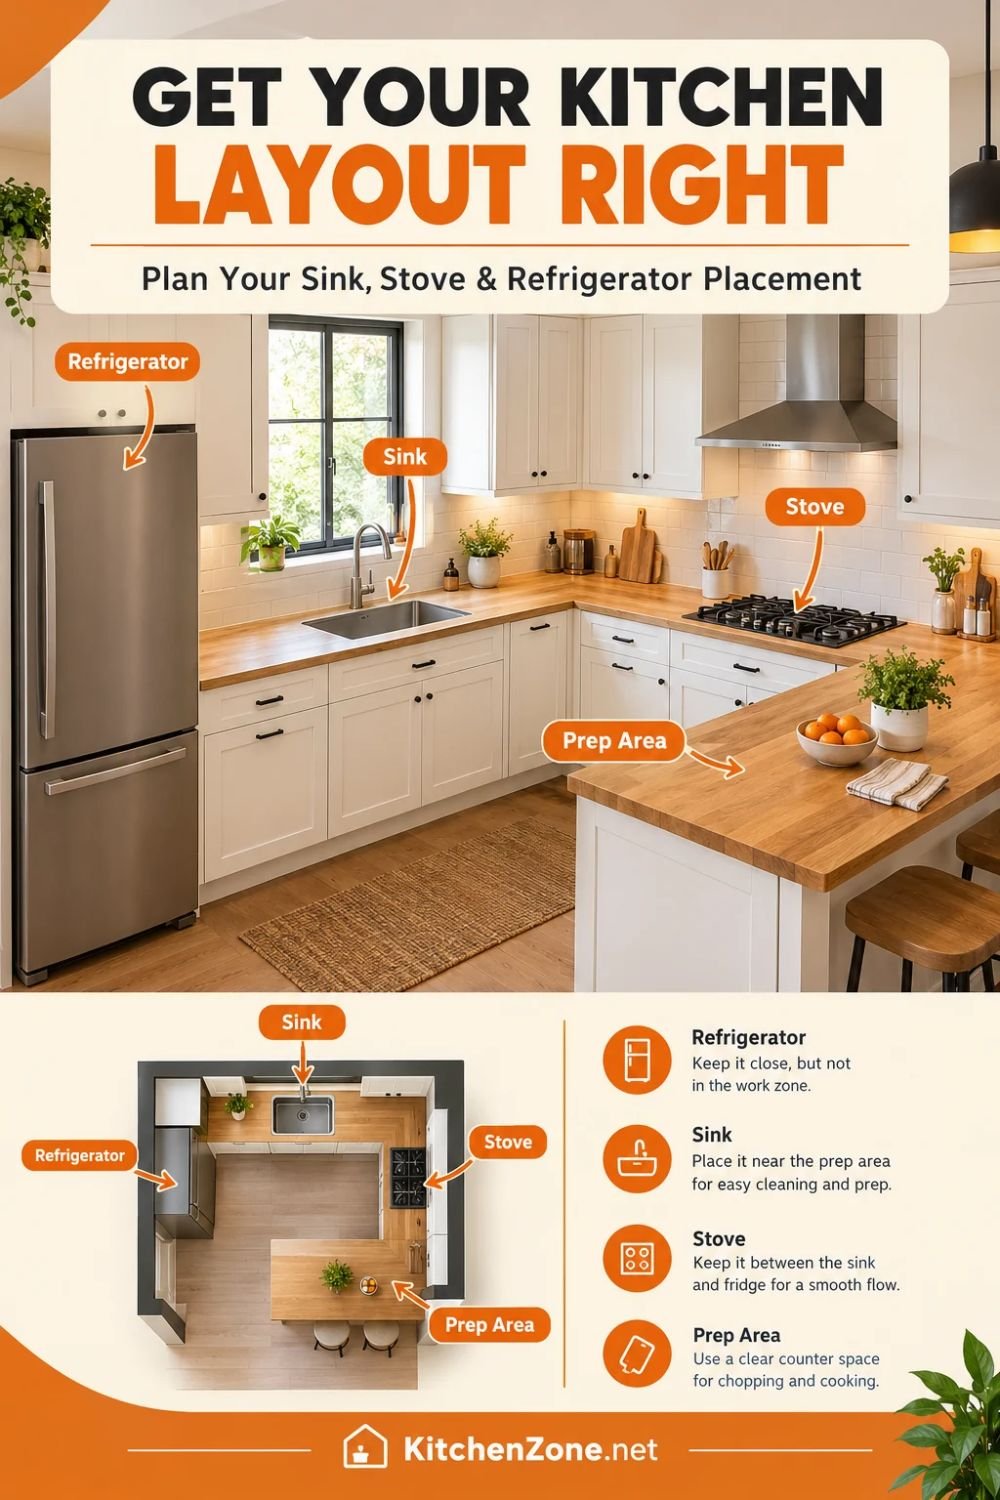
Before you look at cabinet colors or shiny appliances, imagine a normal day in the room. Where do the grocery bags go when you walk in? Where do you wash vegetables? Where do the used plates end up after dinner?
Real-life example: A family puts the fridge on one wall and the only prep area on the opposite wall, with the sink stuck between them. Every meal means walking back and forth with armfuls of produce. Shifting the prep zone next to the sink fixes it for free, but only if someone catches the problem before the cabinets are ordered.
What to check in your layout
- Keep the tools and ingredients you use daily within easy reach of where you use them.
- Place prep space beside the sink and the cooktop whenever possible.
- Trace the walking path between the fridge, sink, cooktop, and trash bin.
- Make sure cabinet, oven, and dishwasher doors can open without blocking the walkway.
- Decide early if two people will cook together.
Aisle widths worth knowing
The National Kitchen and Bath Association (NKBA) suggests leaving at least 42 inches between facing counters for one cook. If two people often share the space, 48 inches is much more comfortable. Main walkways should measure at least 36 inches. In the United Kingdom, a gap of 1,000 to 1,200 millimeters between facing units works well.
My tip: Walk through unpacking groceries, cooking dinner, and cleaning up on your floor plan. If it feels clumsy on paper, it will feel worse in real life.
2. Think About an Open-Plan Layout, but Only If It Fits Your Home
An open-plan kitchen joins the cooking area to the dining or living room. You can chat with family or keep an eye on the kids while you cook, and daylight travels deeper into the house.
There are trade-offs, though. Cooking smells, appliance noise, and dirty dishes are all in view from the sofa. You also give up wall space that could have held cabinets.
Real-life example: A couple removes a wall, then realizes the sink is in full view of the dining table. Adding a peninsula or a short partial wall hides the mess while keeping the open feel.
Ask yourself before taking down a wall
- Do I enjoy talking with people while I cook?
- Will I miss this wall for storage?
- Can I live with cooking noise and smells in the living area?
- Is the wall load-bearing, or does it hide pipes and wiring?
Have a structural engineer or licensed contractor inspect any wall before it comes down. Changing a load-bearing wall usually requires a permit or building control approval in the US, Canada, and the UK.
Want an open look without major construction? Matching floors, a shared color scheme, and a small breakfast counter go a long way.
3. Protect Your Prep Space
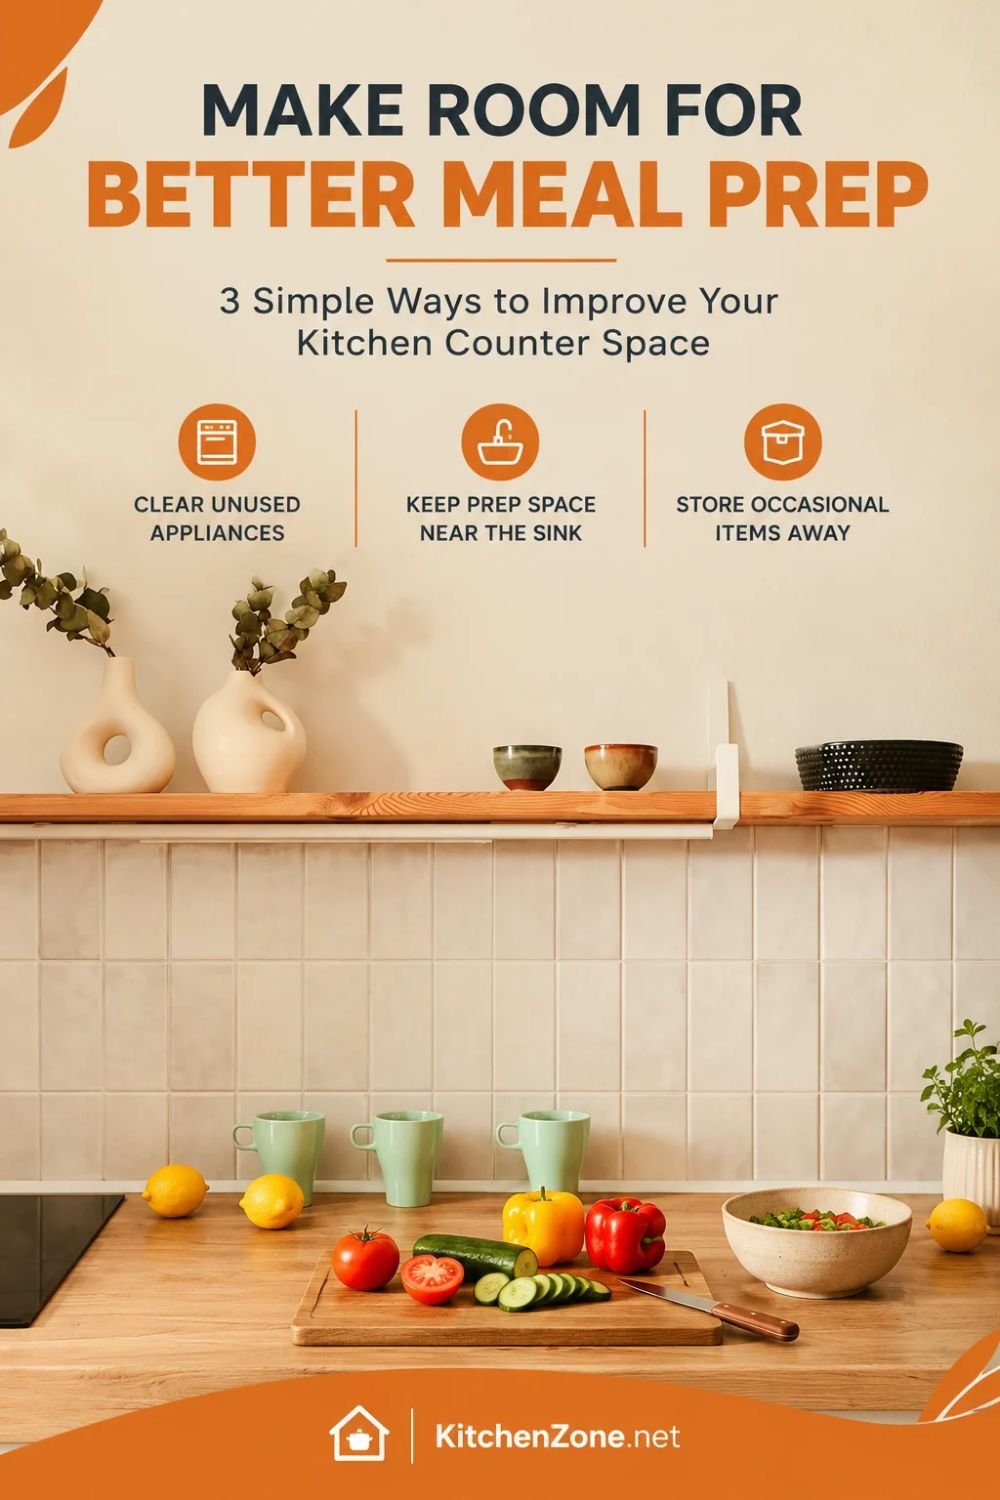
A large island looks impressive, but a clear stretch of countertop is far more useful. When the microwave, toaster, and coffee machine fill every inch, you have to clear a spot before you can start cooking.
Real-life example: A kitchen has plenty of counter overall, but the sink, stove, and fridge cut it into small pieces. The longest free section is only 16 inches, so chopping always feels cramped.
Counter space goals
- Aim for at least 24 inches (600 mm) of unbroken prep space, ideally close to the sink.
- NKBA guidelines suggest roughly 24 inches of counter on one side of the sink and 18 inches on the other.
- Leave at least 15 inches beside the stove for setting down hot pots and pans.
- Keep a landing area next to the fridge so groceries have a place to go.
Easy ways to free up counter space
- Move small appliances into an appliance garage, onto a shelf, or inside a tall cabinet. Check ventilation and the manufacturer’s rules first.
- Keep rarely used items, like a stand mixer, in a separate cabinet.
- Avoid prepping food right beside an active cooktop to reduce the risk of burns.
In a small kitchen, you may not need more counter at all. Better organization of the space you already have can be enough.
4. Swap Some Base Cabinets for Deep Drawers

Standard base cabinets hold plenty, but reaching the back means kneeling down and moving other pots aside. Deep drawers pull everything out to you instead.
Real-life example: Someone keeps six pots stacked in one base cabinet, and the pot they use every day sits at the bottom. Five others come out each time. A deep drawer with dividers solves it.
Standard cabinet sizes by region
| Measurement | US and Canada | UK |
|---|---|---|
| Base cabinet height | 34.5 in | 720 mm, plus plinth and worktop |
| Counter height with top | 36 in | About 900 mm |
| Base cabinet depth | 24 in | 560 to 575 mm (worktop about 600 mm) |
| Common base widths | 9 to 48 in, in 3 in steps | 150 to 1,000 mm; 600 mm is the standard |
| Wall cabinet height | 30, 36, or 42 in | 720 or 900 mm |
| Wall cabinet depth | 12 in | About 300 mm |
| Gap between counter and wall cabinets | About 18 in | 450 to 500 mm |
These are common stock sizes. Custom cabinets can differ, so confirm with your supplier.
Getting the most from drawers
- Add dividers for lids and cooking utensils.
- Make sure the drawer is rated for the weight of your cookware.
- Put your most-used items in the drawer that is easiest to reach.
- Measure your tallest pot before choosing the drawer depth.
Drawers cost more than plain shelves, and they need clear space in front to open fully. You do not have to convert every base cabinet. Even one or two deep drawers next to the stove can make a big difference.
5. Give Pantry Items a Proper Home
Without a dedicated spot, flour, rice, pasta, canned goods, and spices end up scattered around the room. A pantry does not need to be a walk-in closet to do its job.
- Small kitchen: A tall, narrow cabinet, or adjustable shelves inside an existing cupboard.
- Medium kitchen: A tall cabinet with pull-out shelves or baskets.
- Large kitchen: A walk-in pantry, provided it does not eat into key counter space.
Real-life example: A household keeps buying a second jar of cumin and a fourth box of pasta because nobody can see the back of the cupboard. Clear containers and shallow shelves fix that quickly, and the grocery bill drops too.
Practical pantry tips
- Store heavy items on lower shelves for safety.
- Use sealed containers to keep food fresh.
- Keep food away from heat sources and damp areas.
- Measure the usable width, depth, and height before buying organizers.
6. Place Pull-Out Bins Near the Prep Zone
A freestanding trash can takes up floor space and makes a narrow kitchen feel tight. A pull-out bin hides the waste, and its location matters as much as the hardware.
If you chop on one section of the counter, put the bin in the cabinet right next to it. Scraps then barely travel.
Check before installing
- The cabinet’s interior width, depth, and clearance
- A bin size that suits your household
- Room for separate trash and recycling, which matters in cities with strict recycling rules
- How easy the bins are to lift out and clean
Renting or on a tight budget? A slim freestanding bin beside the prep area works almost as well.
7. Pick a Sink That Suits the Way You Cook
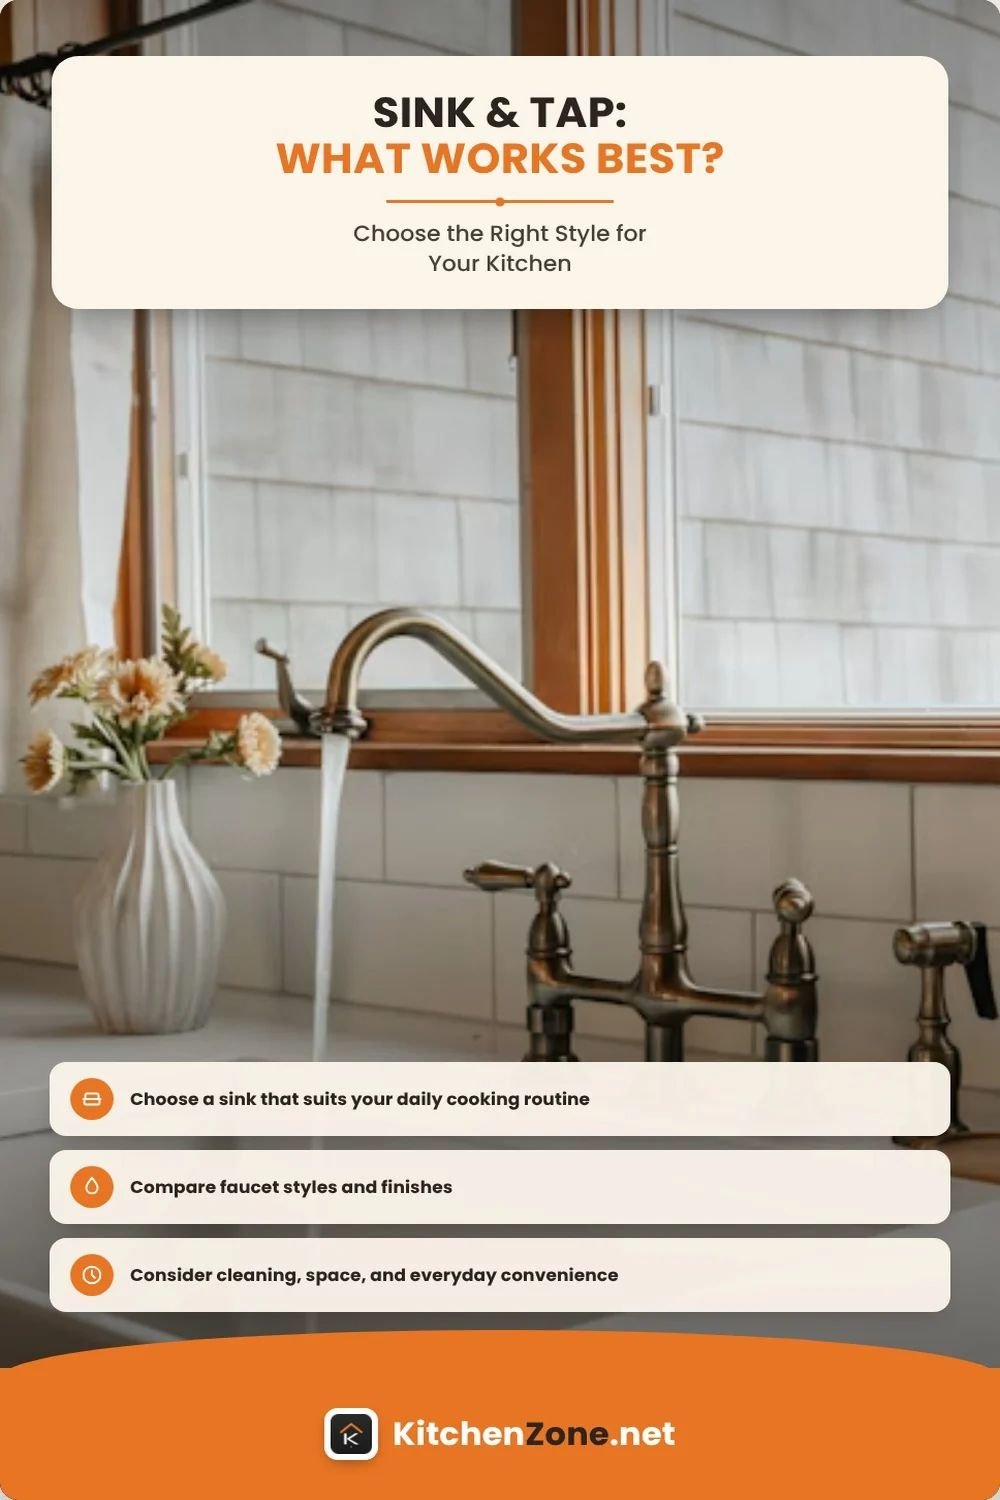
A sink does more than rinse a few plates. It may need to hold baking sheets, big pots, and a pile of vegetables.
A large single bowl gives you one open space for bulky items. A double bowl lets you split tasks, such as washing on one side and rinsing produce on the other.
Real-life example: Someone buys a double-bowl sink for a standard 30-inch (about 760 mm) base cabinet, only to find that neither bowl fits their roasting pan. A large single bowl would have matched their cooking much better.
Which sink fits your habits?
Choose a large single bowl if you:
- Often wash big pots or baking sheets
- Like a wide, open washing area
- Use sink accessories for food prep
Consider a double bowl if you:
- Regularly separate washing from rinsing
- Like having two dedicated zones
Measure the cabinet below and check the plumbing before you buy. A bigger bowl may need changes to the cabinet or drainage. Moving or adding supply lines normally calls for a licensed plumber and often a permit, while a like-for-like sink swap usually does not. Ask your local building department (building control in the UK).
8. Decide Whether a Boiling-Water Tap Is Worth It
A boiling-water tap delivers near-instant, very hot water for tea, hot drinks, or filling a pot. It can also take the place of a countertop kettle.
Treat it as something to weigh up, not an automatic upgrade. Consider the cost of the unit and installation, filter replacements, energy use, and the space under the sink for the tank.
Questions to ask
- How often do I boil water each day?
- Will it free up useful counter space?
- Do I have room under the sink for the tank and fittings?
- What will upkeep and running costs look like?
- Are the safety features right for my household, especially with young children?
Real-life example: A two-person home that drinks tea twice a day installs a boiling tap, then realizes an electric kettle would have been enough. In a family of five making hot drinks, instant noodles, and baby bottles all day, the same tap might pay off in convenience.
Safety note: Very hot water can cause serious burns. Choose a model with proper child-safety features and follow the manufacturer’s installation instructions.
Read also: Boiling Water Taps vs Kettles: What They Really Cost to Run
9. Add Under-Cabinet Task Lighting
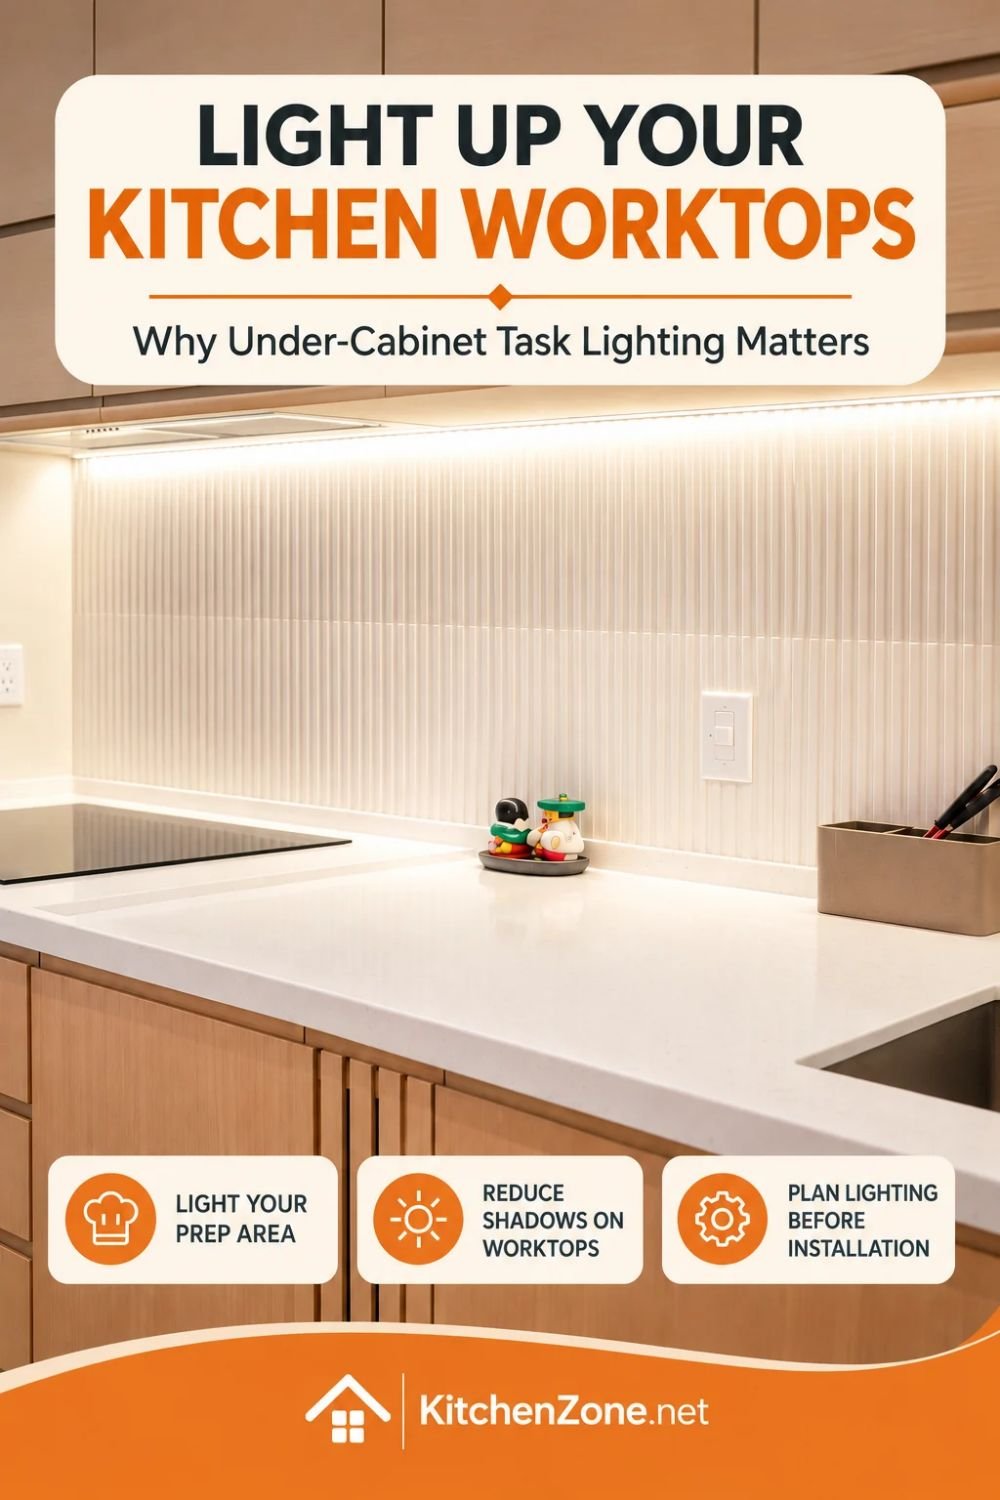
A single ceiling light brightens the room but often leaves shadows across the counter, especially under wall cabinets. Under-cabinet lighting puts the light right where your hands are working.
Think in three layers
- General lighting for moving around the room
- Task lighting for prep, washing, and detail work
- Accent lighting for shelves, display cabinets, or special features
Warm white light around 2700K to 3000K feels soft and cozy, while neutral white (3500K to 4000K) gives a crisper working light. Also look at brightness, color rendering (aim for a CRI of 90 or higher), glare, and placement. A badly placed strip can bounce reflections off glossy countertops.
Wall cabinets usually sit about 18 inches (450 to 500 mm in the UK) above the counter. That gap is where under-cabinet lights live, so plan the wiring before the cabinets go up.
Hire a licensed electrician for any new wiring. Plug-in or battery-powered LED strips are a budget-friendly option, especially for renters.
10. Plan Your Outlets Before the Kitchen Is Finished
A missing outlet becomes a daily annoyance. You drag the coffee maker across the counter, unplug one appliance to run another, or stretch an extension cord over your prep area.
Real-life example: A homeowner installs a gorgeous full-height tile backsplash and then discovers there is no outlet near the coffee corner. Adding one later means cutting into finished tile.
The easiest time to plan outlets is before the cabinets, backsplash, and countertops are fixed in place. List the appliances you use regularly, then decide where each one will sit.
Electrical code basics: US, Canada, and UK
United States
The National Electrical Code (NEC) sets the baseline, but your state, city, or county may adopt a different edition or add its own rules. In general:
- Kitchen countertop receptacles need GFCI protection.
- You need at least two 20-amp small-appliance branch circuits for the countertop and dining areas.
- Outlets along countertop walls are spaced so that no point is more than 24 inches from one.
- Countertop sections 12 inches or wider need an outlet, and islands and peninsulas generally need at least one.
- Many areas also require AFCI protection for kitchen circuits.
- Dedicated circuits are typical for the dishwasher, refrigerator, microwave, and electric range.
Canada
The Canadian Electrical Code (CEC) is the baseline, and each province adopts it with its own changes. Counter outlet spacing is tighter than many people expect, with about 900 mm (roughly 3 ft) as a common benchmark. GFCI and AFCI rules differ by province, so check with your provincial authority.
United Kingdom
Wiring follows BS 7671, and sockets are generally protected by RCDs. In England and Wales, Part P of the Building Regulations covers electrical safety, so many kitchen electrical jobs must be carried out by a registered electrician or reported to building control. Scotland and Northern Ireland have their own rules.
Always confirm details with your licensed electrician and local building department. Kitchen electrical work often needs a permit and an inspection, or notification to building control in the UK.
11. Consider Warm Wood Tones and Softer Neutrals
White kitchens are popular for good reason: they feel clean, bright, and easy to match. But all-white is not the only timeless option. Wood finishes, warm neutrals, and natural textures can make a kitchen feel more welcoming.
Oak, walnut accents, warm white walls, and muted beige all deserve a look. You can also pair wood with white cabinets instead of committing to one finish everywhere.
Choosing cabinet colors
- Small or dark kitchen: Lighter finishes help the room feel brighter.
- Warm, natural look: Pair wood tones with cream, beige, or muted green.
- Modern look: Simple cabinet fronts and a limited palette.
- Low maintenance: Think about how fingerprints, dust, and water marks will show.
Real-life example: Someone falls in love with deep matte black cabinets in the showroom, then finds every fingerprint and water spot on display in their sunny kitchen. Always bring samples home and view them in daylight and in the evening.
If you love white cabinets, go for it. A softer white makes a nice alternative to a stark, very cool one.
12. Choose Appliances Based on How You Actually Cook
Appliances can swallow a big share of the budget. It is tempting to buy the largest oven, the newest fridge, or every smart feature on offer. But a higher price does not always mean more usefulness.
A household that rarely bakes probably does not need a large double oven. Someone who cooks several dishes at once for a big family might love the extra capacity.
How to choose
- List the meals you cook most often.
- Think about how many people you usually cook for.
- Check the inside capacity and dimensions, not just the outside.
- Compare energy use (look for ENERGY STAR in North America), warranties, and repair availability.
- Check door clearance and ventilation needs before finalizing cabinet sizes.
Standard appliance sizes by region
| Appliance | US and Canada | UK |
|---|---|---|
| Range or cooktop | 30 in (36 in for pro-style) | 600 mm (900 mm range cookers are also common) |
| Dishwasher | 24 in | 600 mm |
| Refrigerator | 30 to 36 in | Often 600 mm; American-style models are wider |
| Wall oven | 24, 27, or 30 in | About 600 mm |
Gas appliances need a licensed installer in all three countries (a Gas Safe registered engineer in the UK), and gas line changes require a permit in most areas. Follow the manufacturer’s instructions and local code for range hood height and ventilation, and confirm them before ordering cabinets.
Kitchen Design Decisions: Common Mistakes to Avoid
Even a carefully planned kitchen can go wrong when small details slip through.
- Putting looks ahead of function: Beautiful finishes cannot rescue an awkward layout. Fix the layout first.
- Ignoring storage access: Deep cabinets hold a lot, but items at the back are hard to reach. Use drawers, pull-outs, and dividers where they solve a real problem.
- Underestimating lighting: A bright ceiling light does not guarantee a well-lit counter.
- Buying appliances too late: Their sizes affect cabinets, ventilation, wiring, and layout. Decide on them before ordering cabinetry.
- Paying for features you rarely use: A specialty tap or premium appliance should not beat storage, lighting, and prep space when money is tight.
- Skipping permits: Structural, electrical, gas, and plumbing work often needs permits and licensed tradespeople. Unpermitted work can cause trouble when you sell your home or file an insurance claim.
Which Kitchen Design Decisions Should You Prioritize on a Budget?
You do not need a full renovation to make your kitchen easier to use. Start with whatever frustrates you most.
| Problem | Upgrade to consider | Lower-cost alternative |
|---|---|---|
| Cluttered countertops | Relocate selected appliances | Store occasional-use appliances elsewhere |
| Hard-to-reach cookware | Deep drawers or pull-outs | Shelf organizers |
| Scattered dry foods | Dedicated pantry cabinet | Organize an existing cabinet by category |
| Poor counter visibility | Under-cabinet task lighting | Plug-in lighting where safe and permitted |
| Trash can takes up floor space | Integrated pull-out bin | Slim bin near the prep zone |
| No room for large dishes | Larger single-bowl sink | Rearrange existing sink accessories |
| Missing outlets | Professional electrical planning | Rearrange appliances within existing safe outlets |
| Awkward cooking routine | Layout improvements | Reorganize frequently used tools |
Planning a bigger renovation? Spend your money on what is hardest to change later: plumbing, electrical, cabinet layout, and appliance dimensions.
Kitchen Design Decisions Planning Checklist
Layout and space
- ☐ I have walked through a typical cooking routine on the floor plan
- ☐ Aisles are at least 42 in (1,000 to 1,200 mm in the UK), or 48 in if two people cook together
- ☐ I have at least 24 in (600 mm) of continuous prep counter
- ☐ There is landing space beside the fridge and cooktop
- ☐ All doors (cabinet, oven, dishwasher) open without blocking walkways
Storage
- ☐ I have chosen where the deep drawers will go
- ☐ I have measured my largest pot and baking sheet
- ☐ The pantry is planned with measured shelf sizes
- ☐ The trash and recycling bin is near the prep zone
Sink, tap, and appliances
- ☐ The sink bowl size matches my biggest cookware
- ☐ I have decided whether a boiling-water tap is worth it
- ☐ Appliance models and dimensions are final before cabinets are ordered
- ☐ Ventilation and range hood requirements are confirmed
Lighting and electrical
- ☐ I have a plan for general, task, and accent lighting
- ☐ Outlets are placed for every regular appliance
- ☐ Wiring and switches are planned before cabinets and backsplash
- ☐ A licensed electrician has reviewed the plan
Codes and permits
- ☐ I have checked my local permit requirements (building control in the UK)
- ☐ Structural, gas, electrical, and plumbing work will be done by licensed or registered professionals
- ☐ Permits are in place before work starts
Download the Free Checklist
Prefer paper? Grab the one-page PDF checklist. No email or sign-up is needed. Pick the US and Canada version (Letter size) or the UK version (A4), then print it, pin it up in your kitchen, or hand it to your contractor.
Free, one page, no email needed. Print it or save it on your phone.
Frequently Asked Questions About Kitchen Design Decisions?
What is the most important of all kitchen design decisions?
The layout. It controls how you move between food storage, prep, cooking, and cleanup. A good layout matches your household’s routines and leaves enough room to work safely.
What is the standard kitchen counter height?
In the US and Canada, it is 36 inches including the countertop, built on a 34.5-inch base cabinet. In the UK, it is about 900 mm. Taller or shorter heights can suit very tall or short cooks.
How much space do you need between kitchen counters?
NKBA guidelines recommend 42 inches for a one-cook kitchen and 48 inches for a two-cook kitchen in the US and Canada. In the UK, aim for about 1,000 to 1,200 mm. Main walkways should be at least 36 inches wide.
Are deep drawers better than lower cabinets?
For cookware, often yes. Drawers bring everything into view, so it is easier to reach. Traditional cabinets still suit bulky items that do not fit in drawers, so a mix of both gives you the most flexibility.
How can I make a small kitchen work better without remodeling?
Clear the countertops, group similar items together, move occasional appliances out of the way, and organize your cabinets. Better lighting and a smarter arrangement of everyday items help too.
Do I need a permit to renovate my kitchen?
It depends on the work and your location. Cosmetic changes such as painting or replacing cabinet doors usually do not need one. Structural, electrical, gas, and most plumbing changes often do. Ask your local building department, or building control in the UK.
Do I need a kitchen island?
No. An island only makes sense if there is room to move comfortably around it. In a smaller kitchen, a clear countertop, a peninsula, or a compact prep table may work better.
Which kitchen design decisions are worth the money?
The ones that fix recurring problems: easier storage access, good task lighting, enough prep space, and appliances that suit how you cook.
White or wood-tone cabinets?
Both can look great. White brightens a room, while wood adds texture and warmth. Compare samples in your own lighting before you decide.
A great kitchen is not about the most expensive appliances or the latest trends. It is about choices that fit your everyday life.
Start with the layout, protect your prep space, make storage easy to reach, and plan lighting and outlets before installation. Then choose finishes, sinks, and appliances that suit your needs and budget.
Before you spend money on any upgrade, ask yourself one question: will this solve a problem I actually have?
Note: The dimensions and codes in this article are typical guidelines, not legal advice. Building and electrical codes vary by country, state, province, and local authority, and they change with each code edition. Always confirm requirements with your local building department or a licensed professional before starting work.